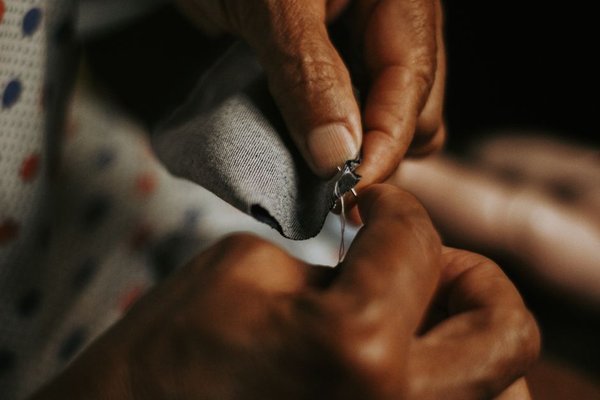
A loose button, split seam, or fallen hem can make perfectly wearable clothing feel unusable. Learning a few basic sewing skills for clothing repair changes that. Instead of paying for every minor fix or replacing clothes too early, you can handle many everyday problems with a needle, thread, scissors, and a little patience. The aim is not professional tailoring; it is making simple repairs neatly enough that your clothes stay useful and presentable.
Start With a Small Repair Kit
You do not need a sewing machine for most basic mending skills. A compact kit with hand-sewing needles, all-purpose thread, small sharp scissors, straight pins, a seam ripper, and a tape measure will cover many common jobs. Choose thread that matches the fabric closely for visible repairs. For stronger areas, such as a coat button or trouser seam, slightly heavier thread can be useful if the fabric can support it.
Keep an iron nearby too. Pressing fabric before or after a repair often makes the result look cleaner. A useful related topic for further reading is choosing the right sewing needle for different fabrics.
Learn to Thread a Needle and Finish Securely
Cut a manageable length of thread, roughly from your fingertips to your shoulder. Longer thread tends to twist and knot. Pass one end through the needle, then sew with either a single strand or a doubled strand when extra strength is needed.
When finishing, make two or three tiny stitches in the same spot on the wrong side of the fabric, pass the needle through the final loop, and pull it snug. Avoid oversized knots because they can create bumps or pull through lightweight fabric.
How to Sew a Button So It Stays Put
Knowing how to sew a button is one of the most useful DIY clothing repair skills. First, check the position against the buttonhole and nearby buttons. Push the needle from the back of the fabric so the starting knot stays hidden, then sew through the button holes several times. For a four-hole button, copy the stitch pattern used on the remaining buttons.
On thicker garments, leave a little space between the button and fabric by placing a pin or toothpick under the thread while sewing. Remove it before the final stitches, then wrap the thread around the stitches beneath the button a few times and secure it on the inside. This small thread shank gives coat or jacket fabric room when the button is fastened.
Repair Small Seam Splits Before They Grow
A seam split is often easy to fix because the fabric itself may still be intact. Turn the garment inside out, align the original seam edges, and pin them if needed. Sew along the original seam line, beginning and ending slightly beyond the damaged section.
Backstitch works well in areas that receive stress. Move the needle forward, then bring it back into the end of the previous stitch. The overlapping structure makes it stronger than a simple running stitch. Keep your repair close to the original seam so the garment does not become noticeably tighter.
Fix a Fallen Hem With Discreet Stitches
For a dropped trouser, skirt, or sleeve hem, fold the fabric back along the original crease and press it gently. Work from the inside. Pick up only one or two threads from the outer fabric, then take a slightly longer stitch through the folded hem allowance. Continue with loose, even spacing.
Do not pull the thread too tightly, as this can pucker the outside. If the original hem used adhesive tape, check the care label before applying heat because delicate synthetics may be damaged by a hot iron.
Patch Small Holes Before They Spread
For a small hole in jeans or other sturdy clothing, place a patch slightly larger than the damaged area behind the fabric and pin it in place. Trim only loose threads, not sound fabric, then stitch around the damaged area through both layers.
For example, if a child’s jeans develop a small hole at the knee, repairing it early is much easier than waiting for the opening to spread. A patch cut from old denim can add support while keeping the repair practical. Another useful internal topic is fixing worn denim and high-friction areas.
Reattach Hooks, Eyes, and Snaps
Hooks, eyes, snaps, and small fasteners often loosen on skirts, trousers, dresses, and waistbands. Remove broken thread, place the fastener back in its original position, and sew through its small metal loops several times.
If the surrounding fabric is frayed, reinforce it first with small stitches or a tiny patch on the inside. Sewing a new fastener onto weak fabric without reinforcement usually leads to the same problem again.
Know When Hand Sewing Is Enough
Basic mending skills work well for buttons, small seams, hems, patches, and loose fasteners, but some jobs are better suited to a tailor. Deep tears in structured jackets, damaged zips, major fit alterations, and repairs involving delicate silk, leather, or heavy lining may require specialist tools or experience.
Consider the value of the garment, how visible the damage is, and how much stress the repaired area will receive. Practising first on older clothing helps you learn stitch tension and spacing. A beginner’s guide to clothing alterations is also a natural next step once basic repairs feel comfortable.
FAQ
What are the easiest sewing repairs for beginners?
Replacing a button, closing a small seam split, fixing a loose hem, and reattaching a hook or snap are good beginner projects. They require simple hand stitches and can usually be redone if the first attempt is uneven.
Do I need a sewing machine for clothing repair?
No. Many common repairs can be completed by hand. A sewing machine is more useful for long seams, larger patches, repeated repairs, or projects where stronger and faster stitching is needed.
What stitch is best for repairing a split seam?
Backstitch is a strong choice for seams that need durability. A small running stitch may work for light-duty repairs, but backstitch generally holds better in areas that move or receive stress.
How can I make hand sewing look neater?
Use matching thread, keep stitches small and evenly spaced, work from the inside where possible, and avoid pulling the thread too tight. Pressing the fabric before and after sewing can also improve the finish.
Make Small Repairs Part of Clothing Care
The best time to repair clothing is usually while the problem is still small. A loose button takes minutes to secure, and a tiny seam opening is far easier to close than a larger split. With a basic sewing kit and a handful of dependable techniques, you can handle many common problems yourself, reduce spending on minor repairs, and keep favourite clothes in use for longer.